This is a Digital Photo Frame that is built using a Raspberry Pi 5, a screen, and Home Assistant. I don't have a flattering picture of everything setup and installed because we never found a good place in the house for it. A picture of one of the first iterations of the frame is below.
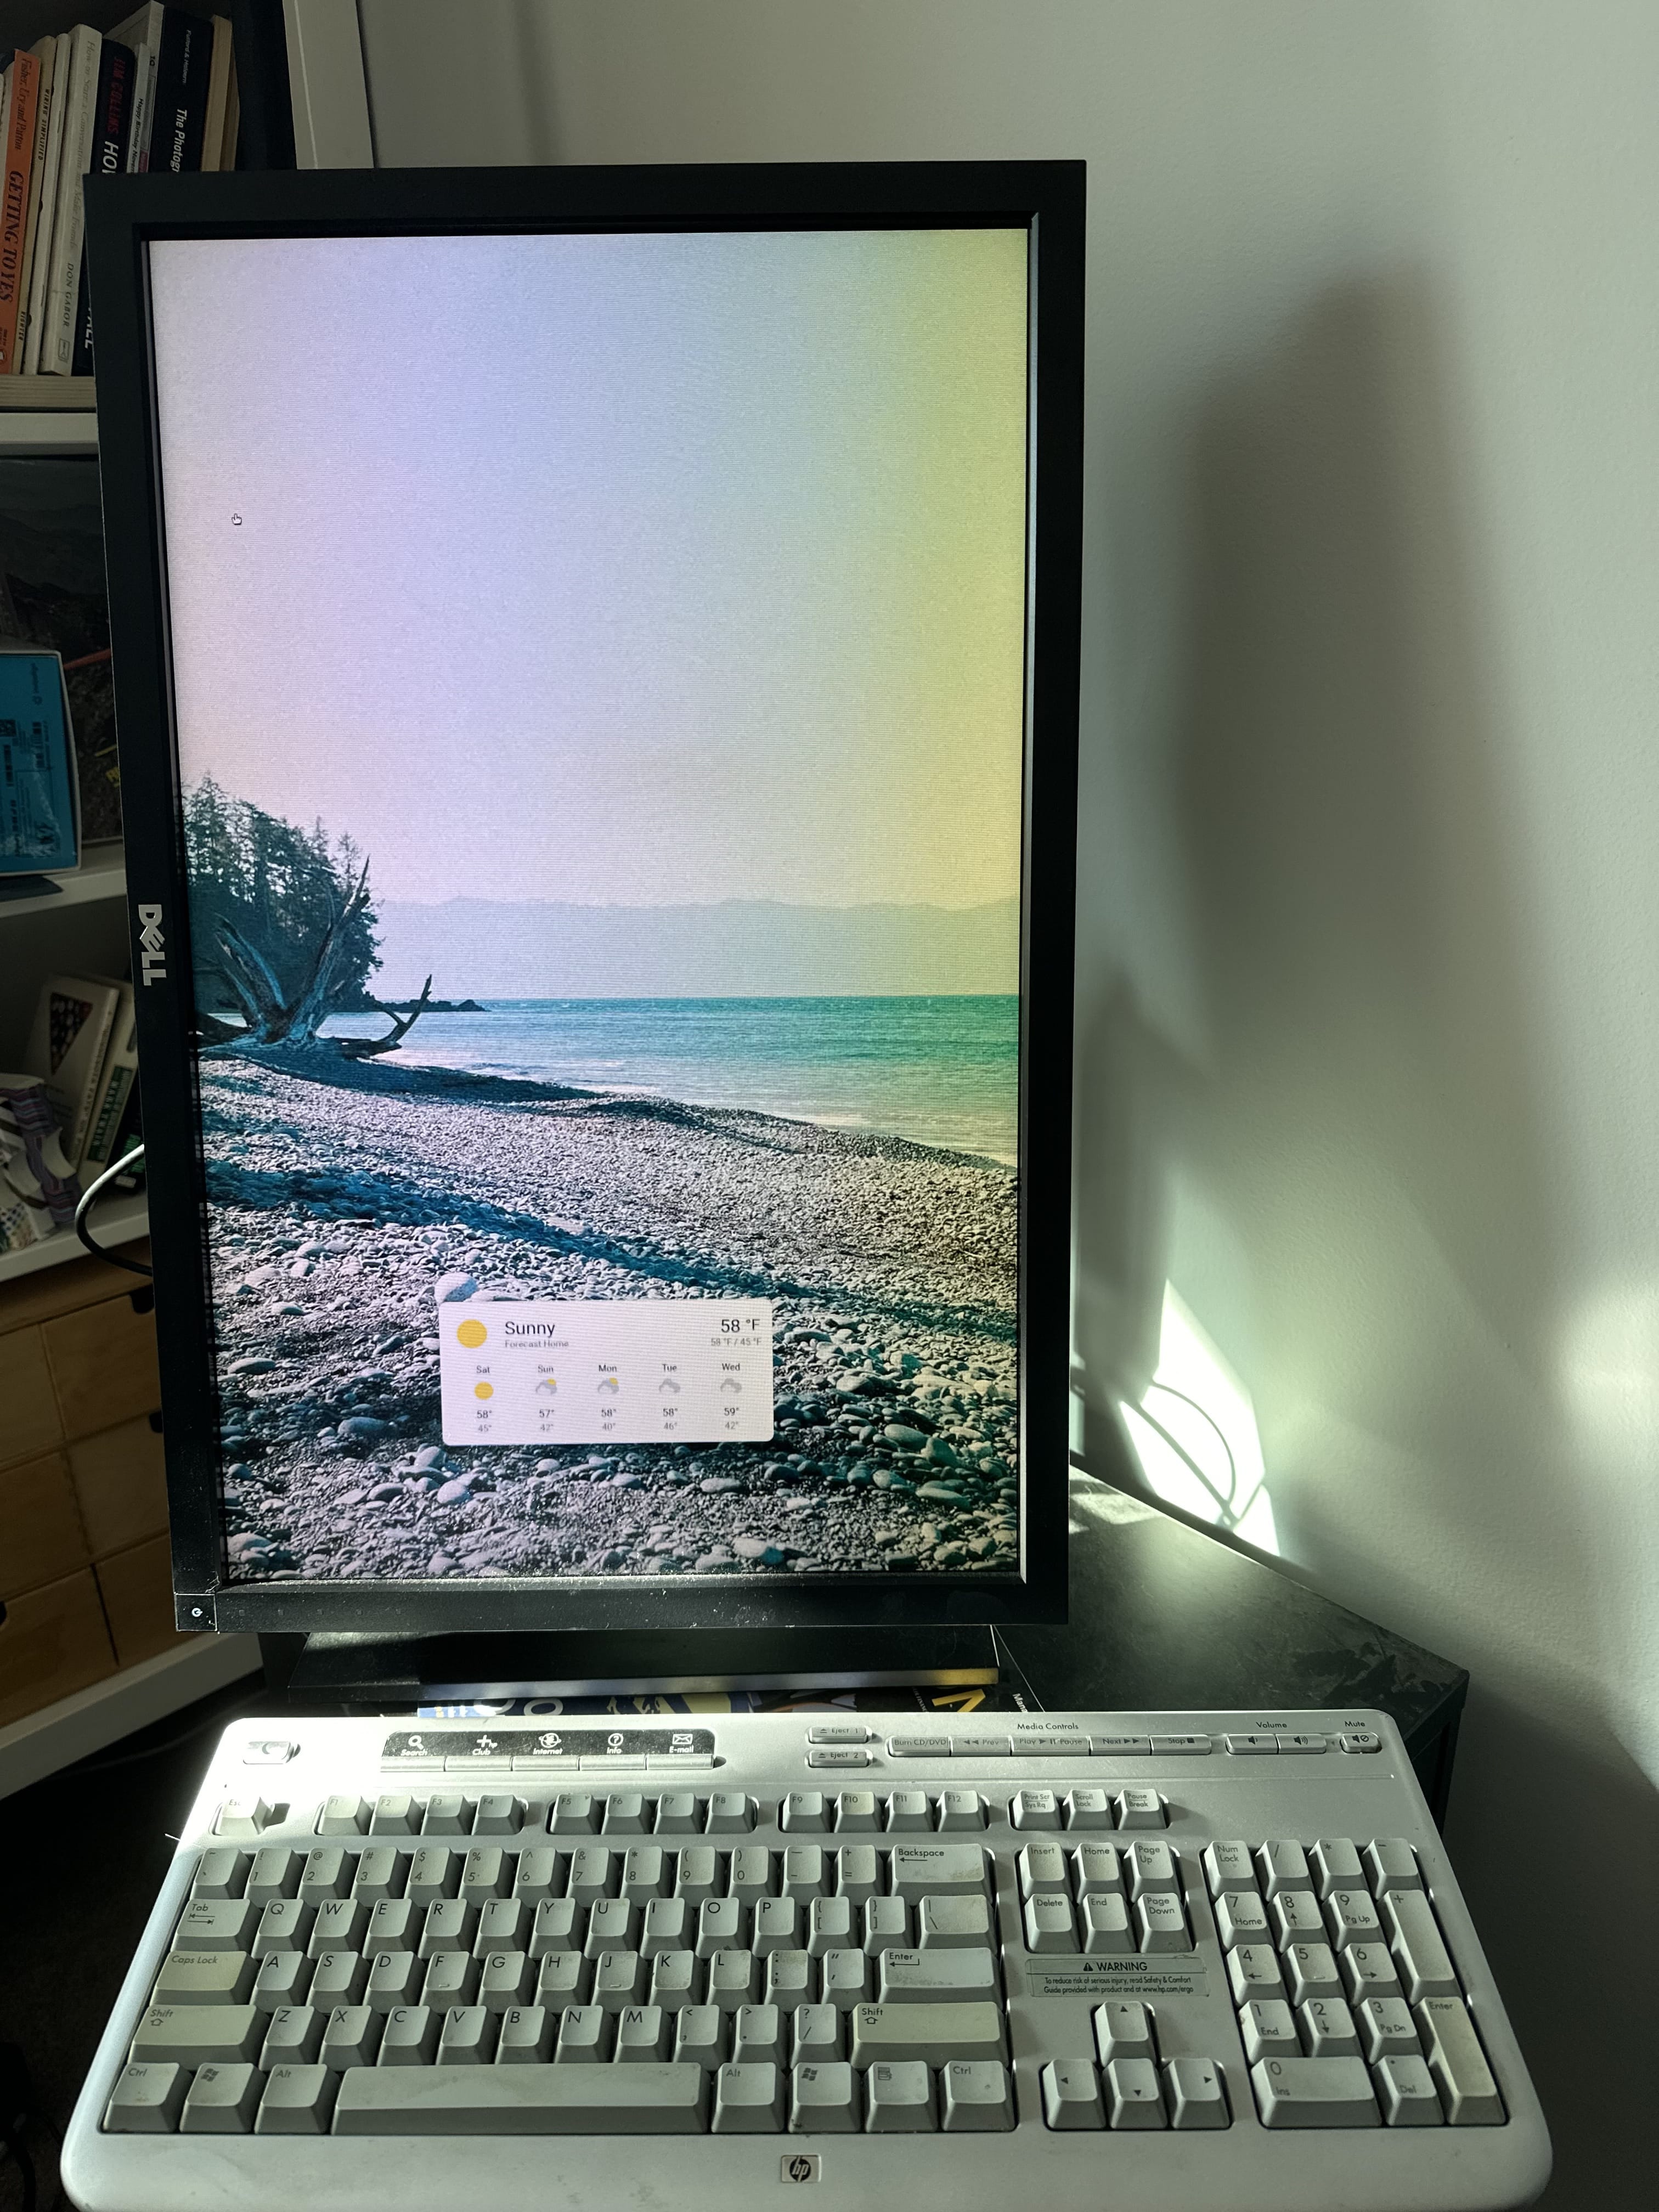
You can display any of the Home Assistant Cards on the screen and they can be enabled/disabled using Automations. That means Weather, Calendar, Alarm system, etc. are at your disposal. There is a web interface for your phone (tested with iPhone) that allows you to add/view/delete images that display on the Photo Frame. Finally, you can also control the screen standby and brightness using MQTT. My screen was HDMI.
This project isn't for a beginner. You must have some basic understanding of Linux and Home Assistant. I haven't provided a step-by-step that is for a novice. There are some assumptions you know what to do.
Outline of the Setup Process:
- Install OS on the Raspberry Pi 5
- Copy three files onto the Pi, set them up and update wayfire.ini
- Setup a Django Project for the Photo Management Web Interface
- Install and configure Home Assistant Card (HACS)
- Get rid of the mouse cursor
- Done
1. Install the OS on the Raspberry Pi 5
I used "Raspberry Pi OS with desktop" on the Raspberry Pi 5. This is the URL I used to download : https://downloads.raspberrypi.com/raspios_arm64/images/raspios_arm64-2023-12-06/2023-12-05-raspios-bookworm-arm64.img.xz
Get that installed, booted and on your network.
Note: This OS uses Wayland and Wayfire which complicates things because this is a bit bleeding edge.
2. Copy three scripts onto the Pi
There is a file to download for this project. Link here.
From inside that file, you will copy and setup three files in the sub-headings below on to the Pi.
logon.sh
The GUI for my Pi automatically logged in. Copy logon.sh to the home directory of the user that auto-logs in. Also chmod +x logon.sh.
Set it up to run during login by adding it to the autostart section of the wayfire config. Append autostart section below to ~/.config/wayfire.ini:
[autostart]
command = /home/username/logon.sh
mqtt-daemon.py
copy mqtt-daemon.py to /opt
You'll have to edit the file as well and change paths to match your setup. The username for sure. This script also assumes MQTT doesn't have a user/password to authenticate.
mqtt-daemon.service
Copy this to /etc/systemd/system/mqtt-daemon.service. Run sudo systemctl enable mqtt-daemon.service to start the service on boot.
3. Setup a Django Project for the Web Interface
The project file contains a Django project as well as some docker files it get it running. This has to run somewhere locally for the web browser on the Pi to access the images. It also provides a way to add/remove/view images. The django project doesn't use a DB or authentication; it's very basic.
The URL is http://10.5.0.60:8001/photos/upload/
4. Install and configure Home Assistant Card (HACS)
Login to Home Assistant from the Pi's Chrome Browser using the HTTP URL. It seems there is no way around the mix-mode issue in the latest Chrome. So you'll have to use HTTP because Django is HTTP. In Home Assistant, install Wallpanel from HACS. Github repo
Create a new Lovelace Dashboard, there is a dashboard.yaml in the download file you can use to paste the settings into. Set the image_url to your Django project.
5. Get rid of the mouse cursor on the Raspberry Pi
The mouse cursor doesn't disappear so we need to help it. Follow link below, download the pre-compiled wayfire-plugins-extra and copy the hide-cursor files to the appropriate location.
https://raspberrypi.stackexchange.com/a/145390/25990
Add hide-cursor to /etc/wayfire/defaults.ini under the plugins list under the [core] section.
5. Done
That's it. You should be able to see the Home Assistant Card on the screen. You can add images to the Django project and they will display on the screen. You can also control the screen standby and brightness using MQTT.
You should look around in the Django code. I've tinkered with the "randomness" of images. You can find the MQTT commands in the mqtt-daemon.py file. These are some commands to get you started.
mosquitto_pub -h 10.5.0.60 -t 'photo_frame/command' -m "brightness 1"
mosquitto_pub -h 10.5.0.60 -t 'photo_frame/command' -m restart_browser
I hope you enjoy the project. It's been a fun one for me. There was a lot of uncharted territory considering this is on the latest Raspberry Pi 5 hardware and OS.
Comments !